
AutoSTEM online workshop for children
Introduction
- Preparation of the workshop
- Preparation of the attendees
- First workshop
- Homework
- Second Workshop
- After work and evaluation
The whole of the workshop description below is also available for download here.
The purpose of this module is to show teachers how to conduct an AutoSTEM online workshop with their students, even very young children. Certain adaptations need to be completed for the youngest children but they can still learn and benefit. The workshop will show you how to prepare yourself and your students so that the aims can be accomplished and the children learn.
As already mentioned AutoSTEM is designed to introduce STEM subjects to young children in a motivating and engaging way, that enables them to retain ideas and complete the activity in a playful way.
The workshop is designed to be run remotely to the children’s personal computers at home. No special software or hardware needs to be installed but some help from adults will be required to ensure that the children can connect. The adults will need:
- Knowledge of using Zoom or other webinar apps
- A computer with a mike and speakers
- A computer with a webcam
Depending on the age of the children more or less adult input will be required. Building an automaton with an adult, parent or caregiver can also be a rewarding learning experience for the child and fun for the adult.
It is also very helpful if the adults have access to cameras or smartphones that they can use to take photos and videos of the automata the children make and are using, even better if the children use the cameras. If the adults need help to upload or send their images/videos to the workshop tutor the details in the WikiHow can help. It explains 7 different ways to share images and videos on the internet. There are others as well, including directly by email for small file sizes, If there are problems sharing files then the Internet and YouTube is full of information that can help you.
As a rule with all webinar use, it is best to use a headset as this reduces feedback from your speakers to your mike, better to light the person well and to sit in a position so that the head and shoulders can easily be seen. As the workshop will be active and ask attendees to make automata, it is best if there is a clear space in front of the person where the construction will take place.
Be sure to share the web link address for your webinar app before the first workshop and the second, and it is advisable to share your email as well so you have open communications with your attendees.
This guide is based on international online workshops for teachers, and offline for children and teachers undertaken by the AutoSTEM team and the feedback and results from those events.
Learning goals
The goal of the workshop is to enable you to gain an understanding of how to use AutoSTEM automata in your teaching practice to introduce and reinforce STEM concepts . The workshop is designed for the children to use the resources created and tested by the AutoSTEM project that have proved themselves as effective tools to introduce STEM subjects and concepts to young learners. They are motivating, engaging, joyful and most importantly retainable.
It will ask the children to make automata, use automata and reflect on the ideas and concepts they have learnt, and most motivating, play with the toys they have made themselves.
Workshop for Children
Preparation of the workshop
The first thing is for you to decide which AutoSTEM automata you want to introduce during your workshop. This should be dependent on the children that you expect and what you want them to learn from your curriculum. The decision may be based on a particular STEM topic that you want to introduce. The introduction to the online course will help you understand which is most appropriate for you. In our experience, it is best to use one of the simpler automata in an online workshop, especially if this is your, or the children’s, first attempt.
Once you have defined which automata you want to use, you should go to the appropriate page on the AutoSTEM website and download any available documentation, and view any videos available. You might want to make a note of the web link addresses to the page, documents and videos as you will need to use some of the material in the workshop. For your information, on the AutoSTEM website, all the automata are listed.
You should also prepare for the timescale of the workshop that should happen over the course of 3 weeks or so. The timescale is a suggestion and you may prefer to change the amount of time or number of sessions to better suit your professional needs. The actual time spent working on the tasks will be a lot less, of course. In Table 1 we detail the timings. You should of course inform your children of the dates of your workshop and timings before it commences.
It is always useful to check that your camera and audio are working.
The optimum number of children’s is dependent on the children’s age and abilities. You will know best. The younger, the fewer children, with the youngest we would suggest 3 to 5, with older children you can have more in one session. If you have more adults involved with the children you can manage more.
| Attendee Activity | Preparation | Workshop 1 | Homework | Workshop 2 | Reflection and feedback |
|---|---|---|---|---|---|
| When | One week before workshop 1 | Over the course of the week between workshop 1 and 2 | One week after workshop 1 | About 2 days after workshop 2 | |
| Time required | 20 minutes | 60 to 90 minutes | 20/30 minutes depending on the children’s ages | About 30 minutes. The time will vary depending on how long the children talk. | 15 minutes |
Sharing recordings: it is a good idea to provide an online space where attendees can upload images, videos and presentations of their homework as these will be very helpful, in a very visual project for others to see and understand what others have done. The tutor can set up online storage space. The link has a presentation on a number of reliable and popular file-sharing options.
You will then need to give the link and access to your attendees so that they can upload to your reserved space and also instruct the children or their caregivers how to upload.
Preparation of the children
The suggestions here may not cover every child as we know there are situations where children may not have the support they require but since the Coronavirus epidemic many families and caregiving situations have adapted to help children learn through interacting with their teachers online. What is suggested here continue those existing methodologies.
Once the tutor/teacher is prepared then the next step is to prepare your children. This should take place about 1 week before the date of the first workshop to allow the children time to prepare. You can send a link to a video of the automata you have chosen or you may prefer not to let the children see this autonomously. There are advantages and disadvantages to each strategy.
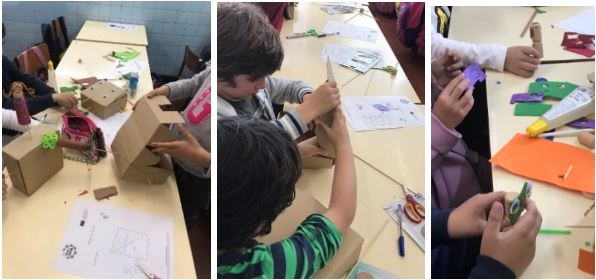
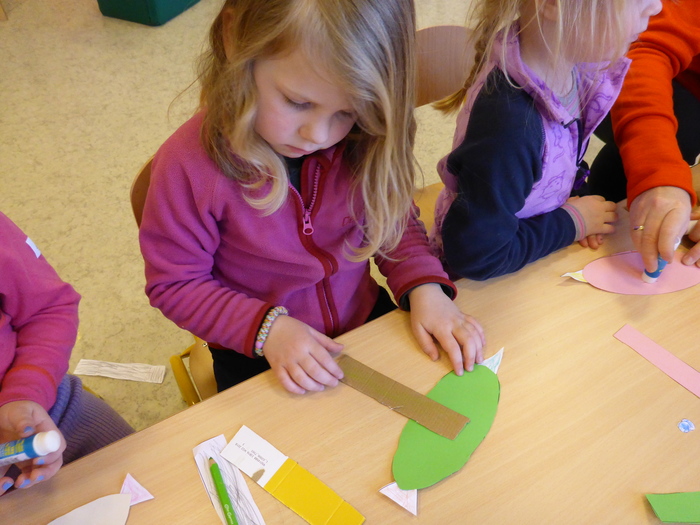
The main preparation is ensuring that the children have the necessary materials to make their own automata in the forthcoming workshop; all the materials are commonly found in primary school classrooms and often in the children’s homes, as well. For the youngest children, the Jellybird makes this task easy as each family can download and print the templates needed online from the website.
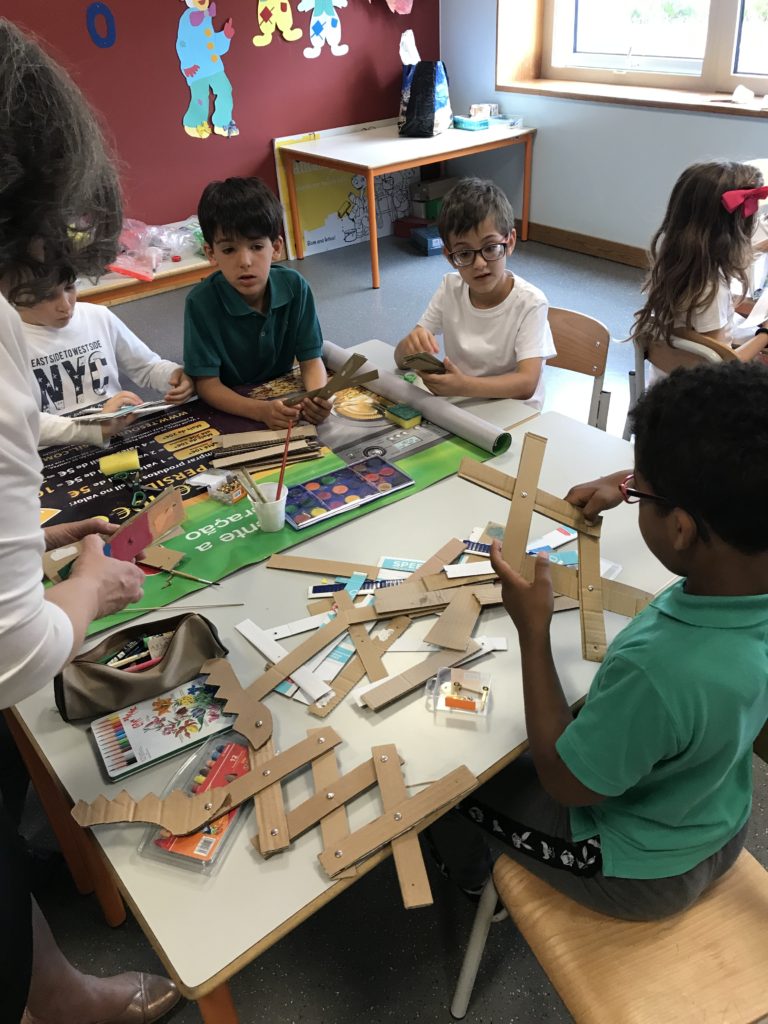
With the other automata, you will need to prepare a kit of the necessary parts and tools (if applicable) and then ensure they are delivered to their homes. You will find an exact list of materials by navigating to the Pedagogic Guidelines page on the website. On that page, you will find a list of automata and on each automata page, you will find a Teachers step by step guide. In the teachers’ guide, you will see exactly what you need.
Alternately you can ask the children to find the materials themselves as an additional learning task where they will have to be resourceful, analytical and systematic. You may need to adjust this strategy to the circumstances and abilities of the children. If you use a self-discovery method with the children, you should also start earlier than one week and also have a check session to ensure they have all the necessary materials. In this scenario, you will need to send the children a list of materials they need and tools to use and some ideas on how they can obtain them.
It is also helpful to offer the attendees a Q&A email address to answer any queries they may have, as this will make your workshop run more smoothly.
You will also need to ensure that the children or their caregivers know how to upload or email any image or video files to you.
First workshop
The purpose of the first workshop is to introduce the automata, check the children have everything they need and make your chosen automata together step by step and deal with any problems. You can then set homework for the children.
Phase one: Introducing the automata
Talk about the automata you are going to make, show the video of how to make the automata (each automata page includes a ‘How to make’ video). Let the children ask questions and answer them. The aim is to excite the children and engage them with the workshop.
Phase two: Checking they are ready
You should check each child has all the parts and tools they will need to make the automata. You could do this as a game. You should also ensure the children understand how to hold their work up to the camera so all the children can see.
Phase three: making the automata
At this stage it is best if you then move the camera so that the children can see your hands as you make the automata. You should check that the children can see by testing your position and camera angle before you start the webinar. You should not be too close as this will cut off the sides of the area you want to show, or to far as it may be difficult to see details. Also make sure there is plenty of light on your working area.
Preparation is important, as always, and you should have made the automata yourself a few times so you are aware of any difficulties or problems.
You should make the automata as a step by step exercise with plenty of opportunities for the children to show you that they have completed each step.
For the youngest children it is a good idea to have an adult on hand to scaffold if necessary but the adults should be aware that they should ONLY intervene after the child has tried a few times and is getting frustrated, they should also disengage as soon as the problem is resolved.
Phase four: trying out the automata
Once the children have made their automata it is important they are given some time to play with them, This is part they have been looking forward to and it enhances their experience and motivation if they have this time to play.
You can ask the children to think of new ways to play with their toy, or any other ideas they have, during this period.
Phase five: setting homework
You can then set homework for the children, the details are below. You should also advise the children that they have a week, or whatever period you have chosen to report back on their homework.
The first workshop is now complete.
Homework
You can then set homework for the children in one, two or three areas:
You will decide based on the ages and abilities of the children. The children should write down their ideas so that they can report back in the second session.
Below we show some examples of students from previous online workshops.
- Make your own automata to your own design
- Think of ways you can use and learn with your automata.
- Decorate your automata
They should also allow themselves some time for using their cameras and uploading their results to the teacher. By uploading to the shared space you should assume that Parental permission has been given for any images that include identifiable children.
Second workshop
The second workshop is designed to look at what the children have achieved in their homework, to share their successes, problems, ideas and suggestions. The most interesting aspects that the project team have discovered from running workshops are:
- Improvements to the design of the automata.
- New varieties of automata, some based on the existing designs and some completely new.
- New ideas of how the automata can be used in the curriculum.
The teacher should check that the children have sent them any images or videos before the workshop starts. Be careful to assign each file to the correct child.
The main part of this workshop is to allow the children time to show their work to everyone attending the workshop.
Phase 1:
After checking every child’s computer equipment is working and they can be seen and heard, the teacher should invite the children, one by one to tell the group what they have done. It might be necessary to use the homework instructions as a start point, but best to do it in an informal and relaxed way.
- Make your own automata to your own design
- Think of ways you can use and learn with your automata.
- Decorate your automata
Activity: Attendees presenting their homework
This is the major phase of this workshop. The children should take it in turns to talk and show what they have accomplished in their homework.
They should attempt to show how they have responded to the original tasks set for the homework.
The attendees may wish to share images, videos, presentations from their homework that they have added to the shared online space. You should be ready with the images to show from your desktop.
All attendees should take it in turn to report.
Phase 2:
Activity: In this phase, the children should examine, compare, analyse and suggest based on each other’s reports. These could look at:
- Background
- Challenges and achievements
- Overall result
- Discussion of all
- Additional ideas
Evaluation
Before the workshop is finished you should tell the children that you want to know what they liked and didn’t like, found hard and easy and send them the children’s questionnaire linked here.